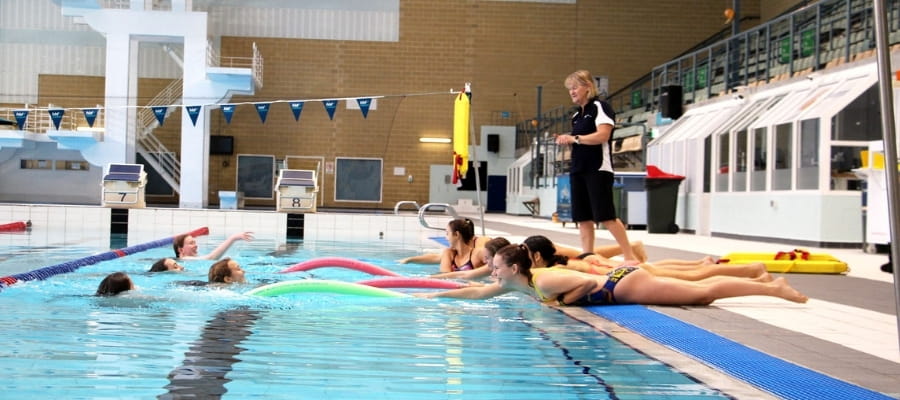
While we all enjoy recreating in, on and around water in Western Australia, there can be situations where we are faced with having to perform aquatic rescues. Here are some essential techniques to safely perform dry and water aquatic rescues while minimising personal risk.
Remember: Self-Preservation
The key to performing any rescue safely is self-preservation. Rescues that can be performed without getting wet, a dry rescue, are the safest. It is important to avoid putting yourself in danger by performing the safest rescue possible. To minimise the potential risk to yourself, any rescuer should consider using the following rescues, in priority order.
Dry Rescues:
- Talk
If the person in trouble is conscious and capable of responding, the rescuer should consider if they can talk to the person and direct them to a safer location. This should be completed in situations where the person is close enough to see the rescuers gestures and hear their voice.
- Reach
If the person in difficulty is near the edge, consider if you can reach for them or use something on hand to reach them, such as a rope, stick or towel.
- Throw
Throwing a buoyant aid should be done in situations where the person in trouble is too far away to carry out a reach rescue. Rescuers should consider throwing a buoyant object such as a lifejacket or esky lid to provide support to the swimmer until they can be removed from the dangerous area.
- Wade
When an attempt to reach and throw have been unsuccessful, the rescuer can then attempt to wade out to the person in danger to enable a reach or throw rescue. This should only be performed if the depth, current and temperature of the water permits a safe entry.
- Row
If a reach, throw and wade rescue have all not been possible, a row rescue is an effective and safe technique to use. The rescuer can remain clear of the water by using a vessel such as a canoe to row out to the person and safely get them out of the dangerous spot. It is important when using this technique be aware of the craft and its limitations.
Water Rescues:
- Swimming Rescues (accompanied)
When all non-swimming rescue techniques have been deemed not appropriate or failed, the rescuer can attempt a swimming rescue. If possible, the rescuer should swim out to the person in difficulty, maintaining a safe distance, passing them a buoyancy aid and accompanying them to safety.
- Tow (non-contact and contact)
If an accompanied swimming rescue is not possible, the rescuer should first consider if a non-contact tow can be used. In this instance, the rescuer should swim out to the person, maintaining a safe distance and passing them a buoyancy aid, before then towing them back to a safe spot.
If all these options have failed or proven ineffective, you can then complete a contact tow to get them back to safety. This should only be completed if you have the strength, skill and fitness to do this whilst ensuring your own safety.
If you are interested in learning more about completing rescues and becoming a qualified lifesaver, visit our Bronze Medallion training course at the link below.